 |
|
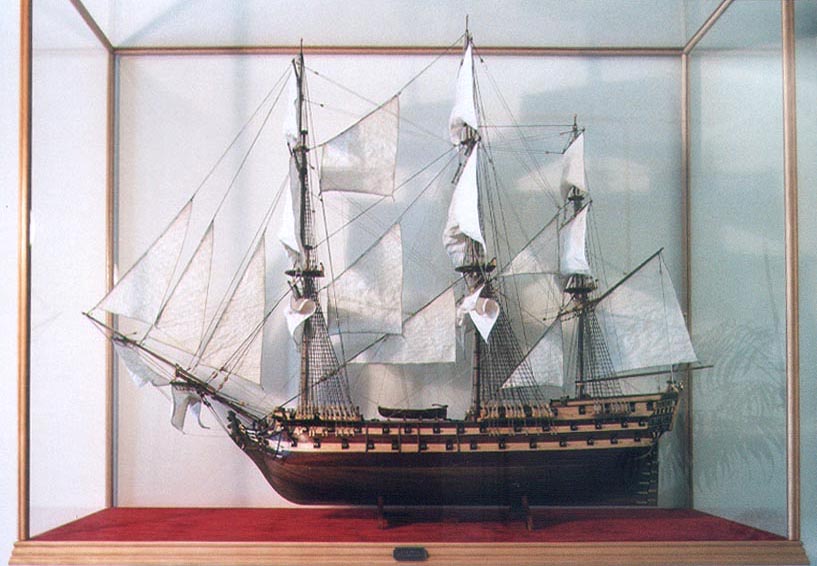
Pic 120: The completed 'San Juan Nepomuceno' on display.
The display case: It's well worth putting some effort into the case. For kit-makers like me, used to having instructions and materials supplied, suddenly you have to scratch build! With reference to this sectional plan, this is how I made mine:
1) I chose UV-stable polycarbonate sheet instead of glass because it's much lighter and far less hazardous. I used 4mm sheet to save weight, but you could use thicker for more rigidity if you prefer. Calculate the dimensions of each panel carefully, allowing for the joints, and if you're lucky your supplier might cut the sheets (5 off) to size for you. The polycarbonate should have protective film on both sides - leave this on for as long as possible, trimming back just enough round the edges as you start to assemble the case. Glue the panels together using an epoxy resin like 'Araldite' for strength.
2) Cut the baseboard (I used 18mm chipboard) to the outside dimensions of the case, plus 1mm all round for clearance. Rebate it all round to accept the polycarbonate case later, and cover it with something attractive - I used crushed suede-effect fabric.
3) Lower the case onto the baseboard to make sure it fits neatly into the rebates. Now you need to find appropriate wooden mouldings for the baseboard and case edges. To get the external proportions looking right, I found that the base moulding needed to be deeper than the baseboard. To accommodate this difference I combined the mouldings with reinforcing battens first, making a large L-shaped moulding before fixing. With the case still in place, fix this moulding to the baseboard with PVA - this creates a channel for the polycarbonate edges to sit in later. I also added a couple of battens across underneath to take wall brackets.
4) Using epoxy, fix suitable wooden mouldings to all the outside edges of the polycarbonate, using 3-D mitres at the top corners. I used 'birdsmouth' moulding, which has just enough profile to be interesting. Use masking tape to keep the glue off the base section. You can also fix small quadrant mouldings inside the corners with more epoxy for added strength and appearance.
5) I thought the ends of the ship's stand were too thin to take screws safely, so I made a small block to fit between the baseboard and the centre part of the stand, covered its sides with the same fabric as the baseboard, and firmly secured it to the underside of the stand with more epoxy.
6) Now remove the case and support the base so you can get to the centre of it underneath, eg between two chairs. Position the ship accurately on the base, then drill and place a single screw up into the block from underneath. Now's your last chance to check the ship over - in particular yard alignment and cannon port lids - and remove any dust, shavings and hairs.
7) Place the baseboard with mounted ship gently on the floor. With the help of a trusted and carefully chosen friend, very carefully lift the top of the case up and over the ship and slowly lower it into position on the base, being extra-vigilant not to catch it on the bowsprit, boom or yards. Breathe out!
8) You can now attach the final, and easiest, part of the whole kit - number 500: Nameplate.
![]()
![]()