 |
|
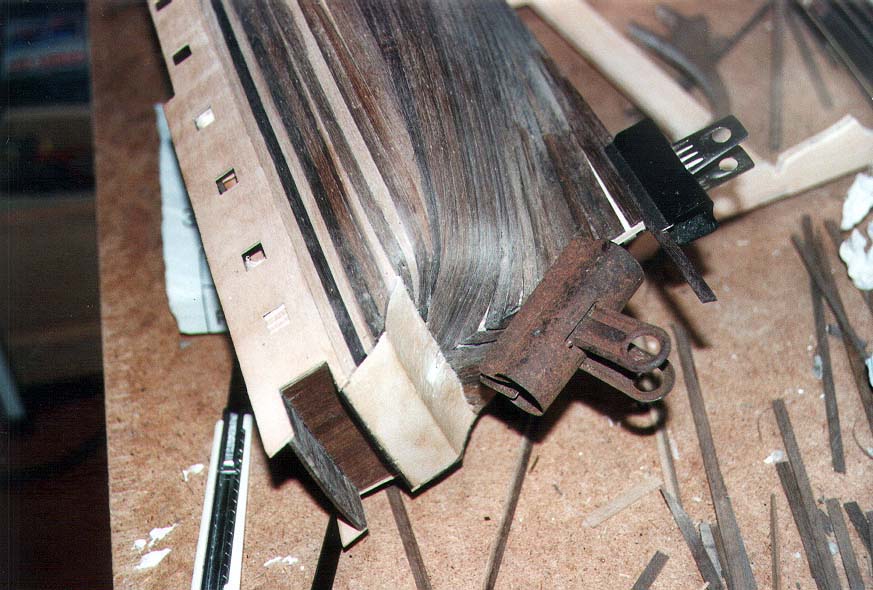
Pic 14: The hull has now had a preliminary sanding. This photo shows how the planks fit towards the stern, while the large bulldog clips hold the stealers in place.
It's worth pointing out that 'sanding' means sanding the planks not just smooth, but also flush with each other. This can require a considerable amount of effort, not only because walnut is hard, but because the planks will probably be far from even. I found that the best way to get a good level finish was to use a 1/3 sheet orbital sander with quite a coarse grade paper. The front of this machine is ideal for getting into concave areas such as those pictured above. It's best to do this outside, as it makes a lot of dust! If you notice tiny circular scratches afterwards, remove them by finer hand sanding until you get a silky smooth finish. Don't skimp on the sanding - it may seem hard work but it will impact directly on the quality of the finished model.
Note: For any serious scratch-builders out there, it's important to remember that this model is being made from a kit, and is therefore not a faithful plank-for-plank copy of the original ship, but a compromise. You'll see above that some planks taper to nothing: this is not technically accurate, but they serve to do the job, are easier to do and are covered by secondary planking.
![]()
![]()