 |
|
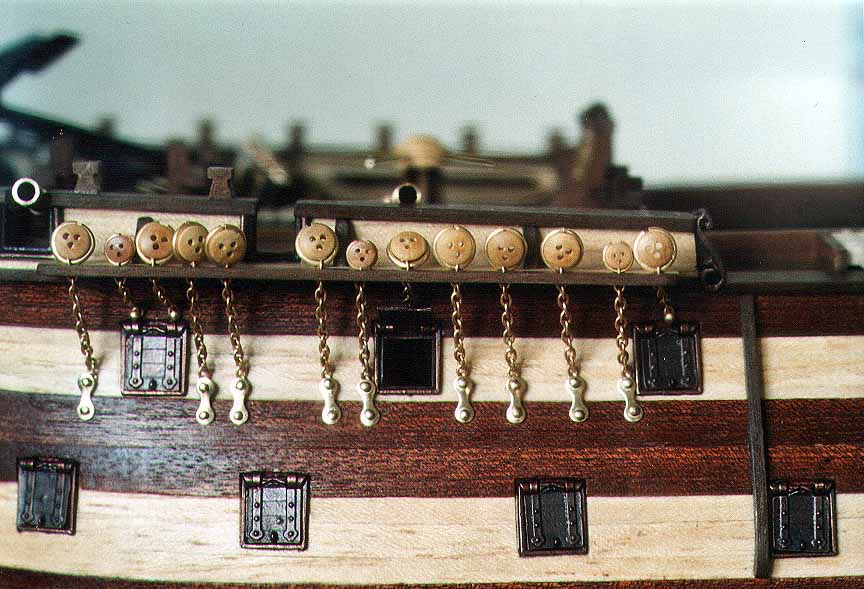
Pic 51: The chains are fixed to the hull. Don't hammer the pins in - drill tiny holes first, then push the pins in with pliers. However, if you simply pull each chain taut and fix it, the chainplates will end up at various heights, not in a nice neat line as shown here. Any unevenness would be particularly noticeable in this case as they cross a mahogany plank. So cut each chain to the correct link, erring on the slack side if you need to (when the shrouds go on later, any slackness will be taken up).
Important note: The chains should be in line with the shrouds, ie slightly angled depending on position. Unfortunately the shrouds do not exist yet, and neither do the tops they run to, so you have to line the chain angles up with... empty air. For some guidance, fix the plan on the wall directly behind the model (Pic 62), bend down and squint a lot!
![]()
![]()